This is a super easy chalk board project that we LOVE on the inside of our pantry door, so you don't see it if it is closed.
I used one role of sheet metal from Home Depot (I think its in the ductwork section) to create the "board" and cut it to fit above and below the door knob on my pantry (I used utility scissors from the dollar store to cut it, but wear some sort of gloves to handle it so you don't cut yourself). You could use non-metal if you don't care if it is magnetic, or are willing to paint with magnetic paint, too. When you go to measure everything, make sure you measure from inside the pantry. You want the measurements to clear the frame moldings when the door is shut.
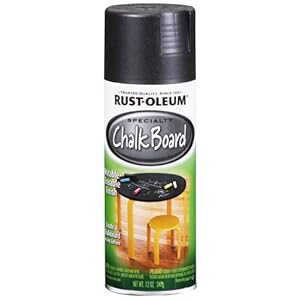
I spray painted it with one can of chalk board spray paint in black (here's a link
Chalkboard Spray Paint ). I used double sided foam tape to hang it on the door. My doors are six panel, so make sure the tape is placed where it will hit the door. The metal is thick enough that it doesn't "collapse" or bend in when you write on it over the panel relief.
Then I used very small flat molding (I think it's called screen molding but not sure; its in the wood molding aisle sold by the foot) and cut it to frame each piece of chalk board (cut it a little big, so there is room on the side of the metal to attach it to the door...if you cut it exact you'll have a hard time attaching it, and you'll be able to see the metal from the side.). I painted that trim with the cheap black flat spray paint before I put it on.
I installed the pieces with my staple gun (mine also shoots small nails, so I used those). You could use regular brad nails or a HOT glue gun, too...my low temp one didn't work. I did have to countersink a few nails that didn't go all the way in, then touched up the nail heads with a black permanent market.
I wanted something to keep the chalk in, so I used a cup from an old dish drain I had and hung that on the door between the two pieces. You could use anything really. This cup had the hook to hang on the drain, so I just mounted a piece of trim and hung it on that.
Lastly I suggest a chalk marker for things you don't want to get erased (daily chore lists, calendar borders, etc.). That has to be cleaned off with a wet magic eraser.
Chalk Marker
We mainly use magnets on the top portion for papers we need. The bottom is the chore list, activities schedule and fine arts schedule in chalk marker. Then my girls can cross out as they do their chores, erase when they are done, then the list is there for the next day.
Hope this helps you get started! Happy building : )


