Call it a compilation of all the crazy projects I've come up with over the years. Call it a how-to for things around the house. Call it whatever you like :) It's what I do everyday. My blog is really just a way for me to share what I've learned over the years about home improvement, interior design, organization, diy, crafting and home repair. And most importantly it comes from always working on a budget and forever wanting to fend for myself when it comes to anything. I hope you enjoy (and learn a few things along the way :)

Saturday, April 27, 2013

How to make your own outdoor pillows - Quick tutorial

I decided to make some outdoor pillows for my new patio recliners and thought I'd do a quick how-to post for anyone who needs it.


It's quite simple actually.

Two pieces of fabric cut to the size you want the pillow (with an extra 1/2" to 1" for a seam allowance).  You can also just fold a piece of fabric and half and it leaves you with only three sides to sew : )  Easier is always better, so that's what I did.


Place the two pieces of fabric together (right sides against each other).  Sew the pillow all the way around, leaving a hole large enough for your hand to fit through.  I back stitch when I start and stop so the seam won't unravel.  That's simply starting sewing for an inch, sew backwards on top of that back that same inch, then start sewing forward again right on top of those two.  You end it the same way.

Then turn your pillow right side out.  Stuff it with filler.  Then whip-stitch the fabric closed by hand.  I just start the thread inside the pillow, then sew back and forth until I get to the end.  I double up the thread when I first thread my needle, so when I'm done I just cut it off the needle and have two threads to knot at the end.


It really is just that simple!  For me, this was a free outdoor pillow project (my favorite kind).  I had the fabric and stuffing.  As I've mentioned before.  I keep all pillow stuffing out of pillows I am getting rid of for future projects.  I also keep any fabric I can (from bedding, clothes, friends etc.) to use.  This fabric came from a picnic blanket that was wrapped around some outdoor cushions I bought a few years ago from Target. 

Another free project intended to inspire : )

Catniss Hunger Games costume

This year my daughter had a "Dress Like a Book Character Day" at school, and she decided she wanted to be Catniss.  Yes, isn't that always the fun night before project :) 


So we began our hunt for stuff we have to make it work.  After all, it always has to be free : )

The black jacket - her sister's.
The black jeans - hers
The black laceup boots - her sister's
The hair - a waterfall braid
The makeup - black eye shadow blended in spots to make her face look dirty : )
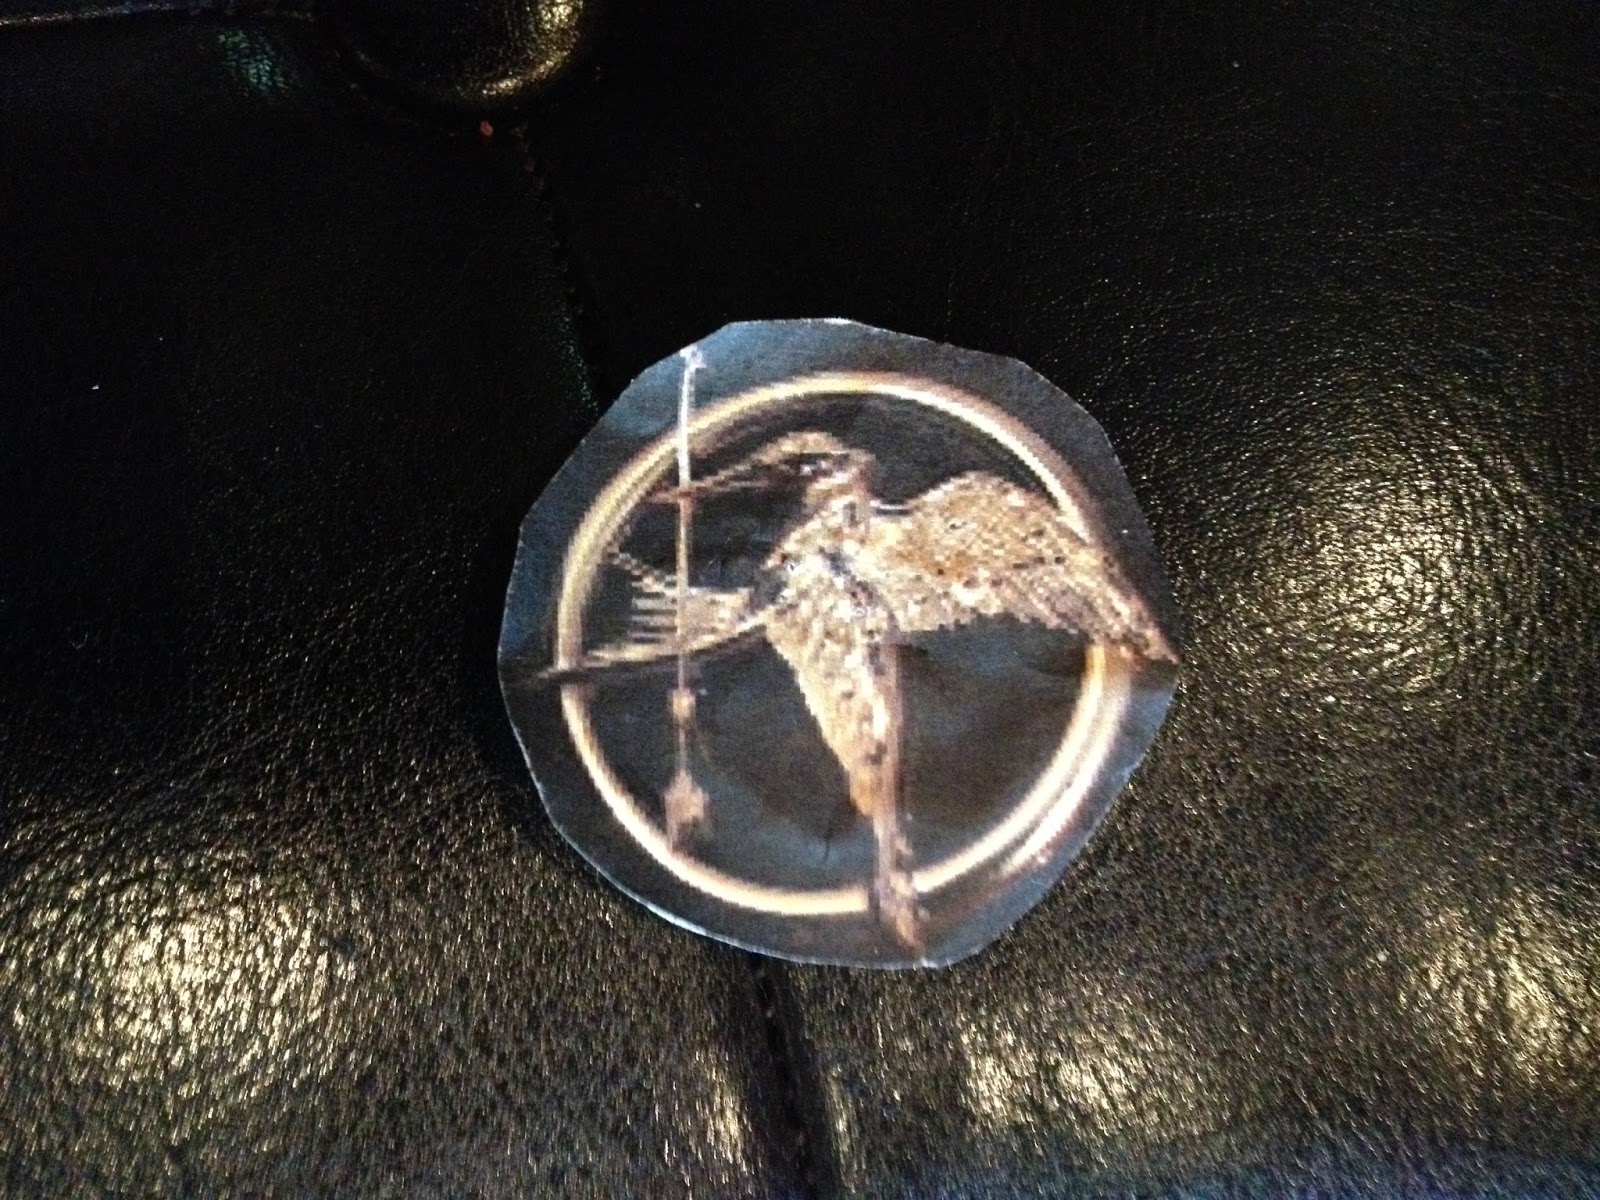
The Hunger Games pin - the logo printed from the internet and glued to a safety pin
The bow - bamboo and ribbon
The arrows - wooden dowels and cardboard
The pouch - a leather decorative case I had in my living room

The clothing was the easy part.  We just needed black.  So she used her own dark jeans, her sister's lace up black boots and a black puffy coat of her sister's.  She had a few items to choose from but she felt this combo looked the best.

For the Hunger Games pin, we used the logo printed from the internet and glued it to a safety pin.  She just pinned it to her jacket.


For the hair, she looked on pinterest and showed me the waterfall braid.  French braid across the back of head to a braid coming down shoulder.  Simple enough.


The bow and arrow was the hardest.  Or should I say it took the most creativity.  For the arrows, I had wooden dowels in the garage that we used.  We hot glued cardboard to the tips for points and cut carboard "feathers" out glued them to the other end for backs.


For the bow we used a piece of bamboo I had in the garage (it was pliable which we needed so it would "bow").  We tied a piece of ribbon to both ends so it would hold the bowed shape and done.


The case we struggled with a little more.  We started with the idea of a faux leather pouch made from fabric I had, but my daughter wanted it to have more structure.  Then we thought of using a Pringles can, or something like it (which would have been fabulous), but we couldn't find anything in our house like that.  Then I spotted this leather case I have sitting in my family room as a decoration.  It looked so good and made the costume look more professional : )


The best part was when she went to school and all the kids were commenting on how great her costume looked.  Of course lots of girls dressed up like Catniss, but everyone said hers was the best.  That's when you know you've succeeded at making a free costume from stuff you have lying around the house : )

Scrap Art Project...Nothing is Better than Free

Today was a "make wall art for my office for free" day ; )  It's actually not the first piece I've made, but the first ones are at my office now, and I don't have pictures.  So I'm blogging about these two first : )


I've taken a part time job at a real estate office and needed wall art.  Being the upcycler that I am, it became a challenge to do it all for free.  So the rummaging through my garage began.

I have already hung an iron wall piece I had, but the walls are big and it needed something on either side to make it look more substatial (The iron piece is about 18" x 18").

I first found the two corner blocks.  They are from an old mirror framing project, and they had already been refinished (painted black and dry brushed with bronze).  I decided I could frame them and hang them on either side.

Then I moved to my scrap wood pile.  I had enough pieces of one kind to make one frame, and enough of another kind to make a second.  They don't match perfectly but look good together : )


I cut each piece slightly larger than the corner block (at 45 degree angles) and glued them together with hot glue.  I then glued a small piece of plastic to the back so I had something to glue the corner block to (you could use cardboard even).  I painted the whole thing black, glued the corner block in the center and done : )

Of course it was yelling out for more detail :)  So I glued a black ribbon to the top to "hang" it from.


Yes, I wanted more detail.  So I took an old handle I replaced off of an armoire and screwed it to the top of the ribbon and voila!


Love how they turned out.  Will post a pic of all three pieces hanging together on Monday!