
Saturday, December 14, 2013
Fortune cookie keeper bracelet
Just happened upon this while I was looking for some fortune ideas to put in my neices and nephews Christmas gifts this year. Love these!!!!! Nothing better than finding a good fortune at just the right time in your life. Now you can keep it! What a great gift for the hard to buy for female in your life!

Thursday, September 26, 2013
How to fix your iPad that has turned red and fuzzy.
It's as simple as tapping it on the back!


My daughter took her iPad to school and brought it home red and fuzzy. I know not good. When you turned it on the screen was red with a white apple like this:
Then when you got to the home screen it was fuzzy or "noisy" with pixels floating. Plus it had a red tint like this:
Searched the internet and found out you just tap it on the back! So I took it out of the case, turned it over and tapped it with my palm four times around the center. Turned it over and voila! Fixed! My daughter almost lost it. What a quick and easy save. Love the internet. Hope this helps!
Saturday, September 7, 2013
What a difference dark brown windows make
My neighbor is replacing their white divided light windows with dark brown windows. I had to stop my car and take a picture mid project. With both types of windows still in place, it's so evident how much nicer the home looks...can't wait to see it finished!


Another monster high broken knee fix :)
This time my friend's daughter's Draculara leg broke, and the "de-headed" screw worked again...so I decided to post it again.


In this pic you see the broken knee and the screw with the head cut off. Here's my post on how I fixed Venus McFlytrap with step by step instructions.
This post is just a reminder that it can be done. For some reason I didn't get a shot of the knee fixed. Next time I go over I'll take a pic and add it to the post.
Side shot of the broken knee so you can see what break I'm repairing.
Good luck fixing your doll :). It's easy!
Fix your iPhone cord with a pen spring (and electrical tape if needed)
I got my inspiration from Pinterest. Saw the post about the pen spring to protect the cord, but I had three cords that were frayed like this...


I had tried electrical tape but it just gets it sticky and stretches and doesn't work.
So I decided to wrap a little tape and then put on the spring on to hold it in place. It worked wonders and I am thrilled.

Take the spring out of a "clicker" pen And place it on the wire near the end of the spring.

Then twist it until it gets to the end so you can get the cut off end of the spring around the iPhone wire.

Once it's around it, twist until the spring is all the way on the the wire. It should slide back and forth on the wire now.
Slide the spring up and twist to sort of lock it on the wider part that connects the wire to the charger head. If your spring is too narrow to easily go over this bump, just stretch it a little to get the cut end started, then twist to get more of the spring to go on.

I've done it to five charger cords now (three to fix and two to protect and it gets easier each time).
Love a quick fix that fixes what you have instead of going to buy new. More money stays in my bank account :)
Friday, June 21, 2013
I finally made my toilet paper roll faux iron wall piece

I collected toilet paper rolls for quite a while to organize my computer cables (another suggestion I saw on Pinterest).
Because I had so many leftover after I finished organizing my cables, I decided to search Pinterest for another project. That's when I saw the faux iron artwork project.
I cut all my toilet paper rolls into 10 slices or rings each By flattening the roll and then cutting it (no need to measure, just estimate the width as you cut...it doesn't need to be perfect).

I then just started gluing them together with a hot glue gun.

As you can see I started with six in the center, and then just added a new piece in every space, symmetrically.

You only need to glue on the bottom inch of the fold before you attach it in the space.
Just keep building and building until it reaches the size that you want.
Now I just need to decide where I want to hang it and whether or not I want to paint it :)
Make an old piece of art personalized

Of course I have no wall space for new artwork. So I decided to make my own print and put it on top of another piece of art somewhere in my house.
I started by creating a print with my husband's birthday, my birthday, our wedding date, then both of my daughter's birthdays. I just centered everything on the page and picked fonts that would go with the old map picture I was going to cover up.
Always wanting to complete every project for free, I just used plain white printer paper.
After printing it out I tea-stained it, as seen in the picture below:

Then I opened up the piece of art, simply placed it on top, and closed it back up. And there you go, a brand-new piece of art, personalized with our family details.

Friday, May 10, 2013
Quick rustic refinish for the top of your kitchen table
I know a lot of us have worn kitchen tables. Mine has an iron base and wood top, but the wood had seen better days. Chipping, splitting and just general surface scratches all over it, making it look dull.

I'm not a fan of stripping and re-staining because it's hard work, and I have more wood in my house than I need. I welcomed a change from wood on wood. My choice...black. The iron has black in it, so it would match the rest of the table set. I had a pint of black enamel paint so I decided to go with it. This was so quick I had to post it.


First a quick surface sand with my hand sander. This is a quick sand to give it "tooth" to hold the paint. Then wipe with a lightly damp cloth to remove the sawdust, and let it dry. Next paint. I used a brush because I wanted the brush strokes (I like a rustic look because it hides more imperfections). Plus the table had "faux distressing" in spots and the new finish needed to match.


Let it dry, then it was a second coat and done. I didn't wait long enough, so it started to "bubble" or "separate" a little but I liked the look so I kept it. No top coat because it didn't need it.


And voila finished!


It's that simple! Rustic black finish for my kitchen table, and it's lasted already over two years now with no sign of wear!
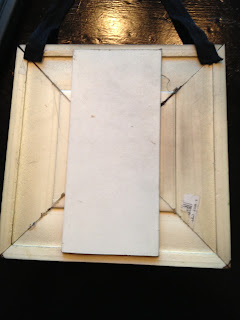
Frame box as a vase!
A friend had a plant delivered to her at work today in the cutest "vase". It was a trunk style box with a hinged lid with frames on all four sides. What a neat play on the photo cube idea. So much cuter. Would be so easy to make with dollar store frames on a Hobby Lobby box. Inexpensive and more family photo space :) A must try project for me. Will post when I make my own. Always love a frame that looks good from all sides, not just the front.


Saturday, April 27, 2013
How to make your own outdoor pillows - Quick tutorial
I decided to make some outdoor pillows for my new patio recliners and thought I'd do a quick how-to post for anyone who needs it.

It's quite simple actually.
Two pieces of fabric cut to the size you want the pillow (with an extra 1/2" to 1" for a seam allowance). You can also just fold a piece of fabric and half and it leaves you with only three sides to sew : ) Easier is always better, so that's what I did.

Place the two pieces of fabric together (right sides against each other). Sew the pillow all the way around, leaving a hole large enough for your hand to fit through. I back stitch when I start and stop so the seam won't unravel. That's simply starting sewing for an inch, sew backwards on top of that back that same inch, then start sewing forward again right on top of those two. You end it the same way.
 Then turn your pillow right side out. Stuff it with filler. Then whip-stitch the fabric closed by hand. I just start the thread inside the pillow, then sew back and forth until I get to the end. I double up the thread when I first thread my needle, so when I'm done I just cut it off the needle and have two threads to knot at the end.


It really is just that simple! For me, this was a free outdoor pillow project (my favorite kind). I had the fabric and stuffing. As I've mentioned before. I keep all pillow stuffing out of pillows I am getting rid of for future projects. I also keep any fabric I can (from bedding, clothes, friends etc.) to use. This fabric came from a picnic blanket that was wrapped around some outdoor cushions I bought a few years ago from Target.
Another free project intended to inspire : )

It's quite simple actually.
Two pieces of fabric cut to the size you want the pillow (with an extra 1/2" to 1" for a seam allowance). You can also just fold a piece of fabric and half and it leaves you with only three sides to sew : ) Easier is always better, so that's what I did.

Place the two pieces of fabric together (right sides against each other). Sew the pillow all the way around, leaving a hole large enough for your hand to fit through. I back stitch when I start and stop so the seam won't unravel. That's simply starting sewing for an inch, sew backwards on top of that back that same inch, then start sewing forward again right on top of those two. You end it the same way.


It really is just that simple! For me, this was a free outdoor pillow project (my favorite kind). I had the fabric and stuffing. As I've mentioned before. I keep all pillow stuffing out of pillows I am getting rid of for future projects. I also keep any fabric I can (from bedding, clothes, friends etc.) to use. This fabric came from a picnic blanket that was wrapped around some outdoor cushions I bought a few years ago from Target.
Another free project intended to inspire : )
Catniss Hunger Games costume
This year my daughter had a "Dress Like a Book Character Day" at school, and she decided she wanted to be Catniss. Yes, isn't that always the fun night before project :)

So we began our hunt for stuff we have to make it work. After all, it always has to be free : )
The black jacket - her sister's.
The black jeans - hers
The black laceup boots - her sister's
The hair - a waterfall braid
The makeup - black eye shadow blended in spots to make her face look dirty : )
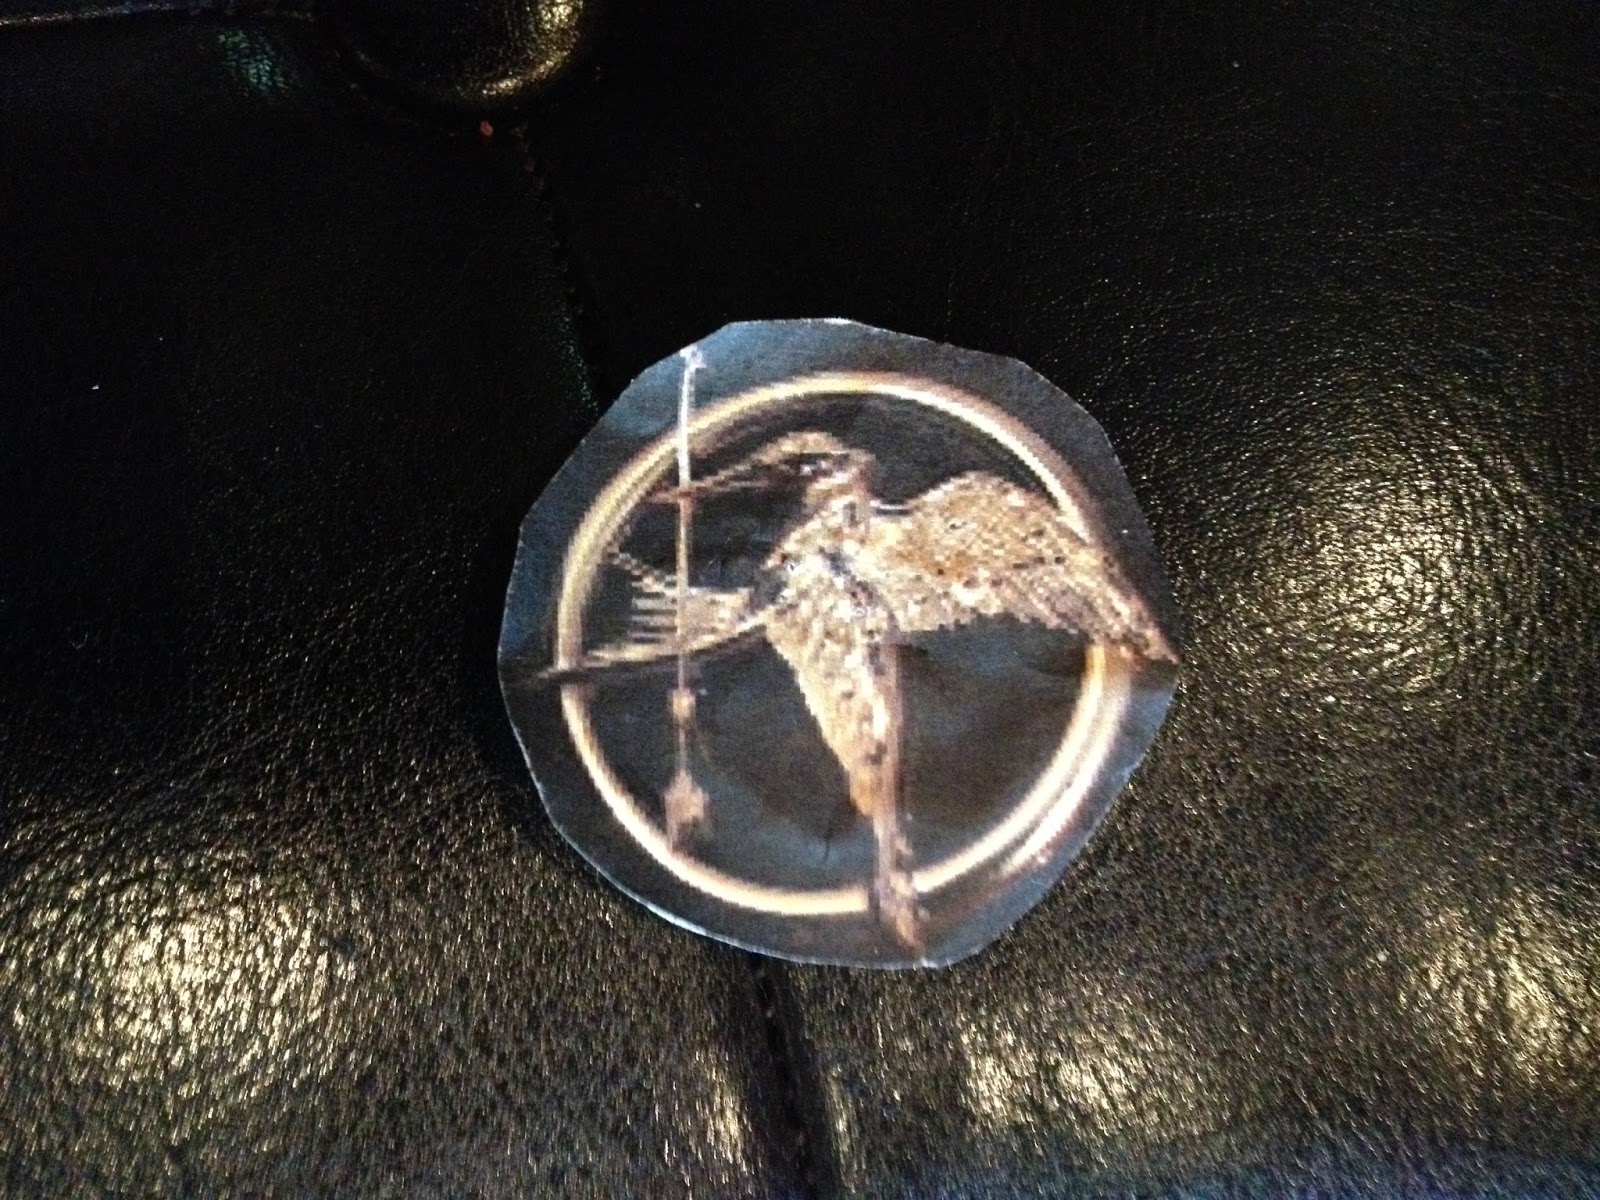
The Hunger Games pin - the logo printed from the internet and glued to a safety pin
The bow - bamboo and ribbon
The arrows - wooden dowels and cardboard
The pouch - a leather decorative case I had in my living room
The clothing was the easy part. We just needed black. So she used her own dark jeans, her sister's lace up black boots and a black puffy coat of her sister's. She had a few items to choose from but she felt this combo looked the best.
For the Hunger Games pin, we used the logo printed from the internet and glued it to a safety pin. She just pinned it to her jacket.


For the hair, she looked on pinterest and showed me the waterfall braid. French braid across the back of head to a braid coming down shoulder. Simple enough.

The bow and arrow was the hardest. Or should I say it took the most creativity. For the arrows, I had wooden dowels in the garage that we used. We hot glued cardboard to the tips for points and cut carboard "feathers" out glued them to the other end for backs.


For the bow we used a piece of bamboo I had in the garage (it was pliable which we needed so it would "bow"). We tied a piece of ribbon to both ends so it would hold the bowed shape and done.


The case we struggled with a little more. We started with the idea of a faux leather pouch made from fabric I had, but my daughter wanted it to have more structure. Then we thought of using a Pringles can, or something like it (which would have been fabulous), but we couldn't find anything in our house like that. Then I spotted this leather case I have sitting in my family room as a decoration. It looked so good and made the costume look more professional : )

The best part was when she went to school and all the kids were commenting on how great her costume looked. Of course lots of girls dressed up like Catniss, but everyone said hers was the best. That's when you know you've succeeded at making a free costume from stuff you have lying around the house : )

The black jacket - her sister's.
The black jeans - hers
The black laceup boots - her sister's
The hair - a waterfall braid
The makeup - black eye shadow blended in spots to make her face look dirty : )
The Hunger Games pin - the logo printed from the internet and glued to a safety pin
The bow - bamboo and ribbon
The arrows - wooden dowels and cardboard
The pouch - a leather decorative case I had in my living room
The clothing was the easy part. We just needed black. So she used her own dark jeans, her sister's lace up black boots and a black puffy coat of her sister's. She had a few items to choose from but she felt this combo looked the best.
For the Hunger Games pin, we used the logo printed from the internet and glued it to a safety pin. She just pinned it to her jacket.

For the hair, she looked on pinterest and showed me the waterfall braid. French braid across the back of head to a braid coming down shoulder. Simple enough.

The bow and arrow was the hardest. Or should I say it took the most creativity. For the arrows, I had wooden dowels in the garage that we used. We hot glued cardboard to the tips for points and cut carboard "feathers" out glued them to the other end for backs.


For the bow we used a piece of bamboo I had in the garage (it was pliable which we needed so it would "bow"). We tied a piece of ribbon to both ends so it would hold the bowed shape and done.


The case we struggled with a little more. We started with the idea of a faux leather pouch made from fabric I had, but my daughter wanted it to have more structure. Then we thought of using a Pringles can, or something like it (which would have been fabulous), but we couldn't find anything in our house like that. Then I spotted this leather case I have sitting in my family room as a decoration. It looked so good and made the costume look more professional : )

The best part was when she went to school and all the kids were commenting on how great her costume looked. Of course lots of girls dressed up like Catniss, but everyone said hers was the best. That's when you know you've succeeded at making a free costume from stuff you have lying around the house : )
Scrap Art Project...Nothing is Better than Free
Today was a "make wall art for my office for free" day ; ) It's actually not the first piece I've made, but the first ones are at my office now, and I don't have pictures. So I'm blogging about these two first : )

I've taken a part time job at a real estate office and needed wall art. Being the upcycler that I am, it became a challenge to do it all for free. So the rummaging through my garage began.
I have already hung an iron wall piece I had, but the walls are big and it needed something on either side to make it look more substatial (The iron piece is about 18" x 18").
I first found the two corner blocks. They are from an old mirror framing project, and they had already been refinished (painted black and dry brushed with bronze). I decided I could frame them and hang them on either side.
Then I moved to my scrap wood pile. I had enough pieces of one kind to make one frame, and enough of another kind to make a second. They don't match perfectly but look good together : )
I cut each piece slightly larger than the corner block (at 45 degree angles) and glued them together with hot glue. I then glued a small piece of plastic to the back so I had something to glue the corner block to (you could use cardboard even). I painted the whole thing black, glued the corner block in the center and done : )
Of course it was yelling out for more detail :) So I glued a black ribbon to the top to "hang" it from.

Yes, I wanted more detail. So I took an old handle I replaced off of an armoire and screwed it to the top of the ribbon and voila!

Love how they turned out. Will post a pic of all three pieces hanging together on Monday!

I have already hung an iron wall piece I had, but the walls are big and it needed something on either side to make it look more substatial (The iron piece is about 18" x 18").
I first found the two corner blocks. They are from an old mirror framing project, and they had already been refinished (painted black and dry brushed with bronze). I decided I could frame them and hang them on either side.
Then I moved to my scrap wood pile. I had enough pieces of one kind to make one frame, and enough of another kind to make a second. They don't match perfectly but look good together : )

Of course it was yelling out for more detail :) So I glued a black ribbon to the top to "hang" it from.


Tuesday, March 19, 2013
The best thing to happen to my patio since my Pod chair! Outdoor recliners!
My new outdoor recliners I found at Ross for $99 each. Haven't sat anywhere else since we brought them home. If you don't own one of these things and love sitting on your patio, they are well worth a look! Holy cow they are comfortable, but look like regular patio chairs when not in use, and no ottoman to trip over.

Those are my DIY outdoor pillows on them...that post is here DIY outdoor pillows


Those are my DIY outdoor pillows on them...that post is here DIY outdoor pillows

Saturday, March 16, 2013
My furry bench :). Converted from a rolled arm piece.
Or how to convert an ugly, stained rolled-arm bench to a funky, furry wow piece.

So this is another Pinterest inspiration. If you look at my boards you'll see where I pinned a furry bench and posted how it inspired me to finally update my gross, old, stained rolled-arm bench from my attic. I showed it to my daughter because I thought it would look awesome in her room and she was sold. Both funky and fun.
First stop was the attic to get the old bench down. You can't see the gross stains in this pic, but trust me they are there.

Then to the fabric store to get the fur. Luckily my first stop was Joann's, and they had what I needed. With my 40% off coupon, it was a whopping $7.20 to do this whole project.

Now we both agreed that the rolled arms had to go, so that is the only reason this project took very long. Normally you just staple the fabric on and done. But I had to figure out how to get the rolled arms off.
I started by pulling off the fabric on the arms.

Low and behold the rolled-arm form was simply stapled onto the main frame of the bench.

So after removing the six staples on each side they simply came off.

There was a lot of fabric and foam removal as well, because I needed to use it for patch work. When the rolled arms came off, they left a hole at each end that needed to be stabilized and covered to match the rest of the bench.

Luckily a piece of wood from the arm fit in the hole to support a piece of seat-cover wood. Using a few nails on each side I was able to stabilize the piece of wood to use as support. For the seat cover portion I had a couple of pieces of flat plastic I cut to fit and nailed in from the top on each end. Simple enough.

Now I had to pad the two ends to blend with the rest of the bench. Using the foam from the arms, I folded them over twice and stapled it on.


And then the easy part. Cover the bench in the fabric. Staple underneath side to side to keep it tight as you move to the end and corners. Then trim the excess fabric and done. Step back and be wowed by your ridiculously cute bench!

Ok well vaccum first because when you cut this fur it sheds like a cat :)
Happy reinventing your old piece!

First stop was the attic to get the old bench down. You can't see the gross stains in this pic, but trust me they are there.

Now we both agreed that the rolled arms had to go, so that is the only reason this project took very long. Normally you just staple the fabric on and done. But I had to figure out how to get the rolled arms off.
I started by pulling off the fabric on the arms.

Low and behold the rolled-arm form was simply stapled onto the main frame of the bench.

So after removing the six staples on each side they simply came off.


Now I had to pad the two ends to blend with the rest of the bench. Using the foam from the arms, I folded them over twice and stapled it on.

I then used the scrap fabric to cover the foam so the whole piece felt the same end to end. The white fur is slightly transparent, so I didn't want the color behind the fabric to be different anywhere and potentially show through.

And then the easy part. Cover the bench in the fabric. Staple underneath side to side to keep it tight as you move to the end and corners. Then trim the excess fabric and done. Step back and be wowed by your ridiculously cute bench!

Ok well vaccum first because when you cut this fur it sheds like a cat :)
Happy reinventing your old piece!
Subscribe to:
Posts (Atom)